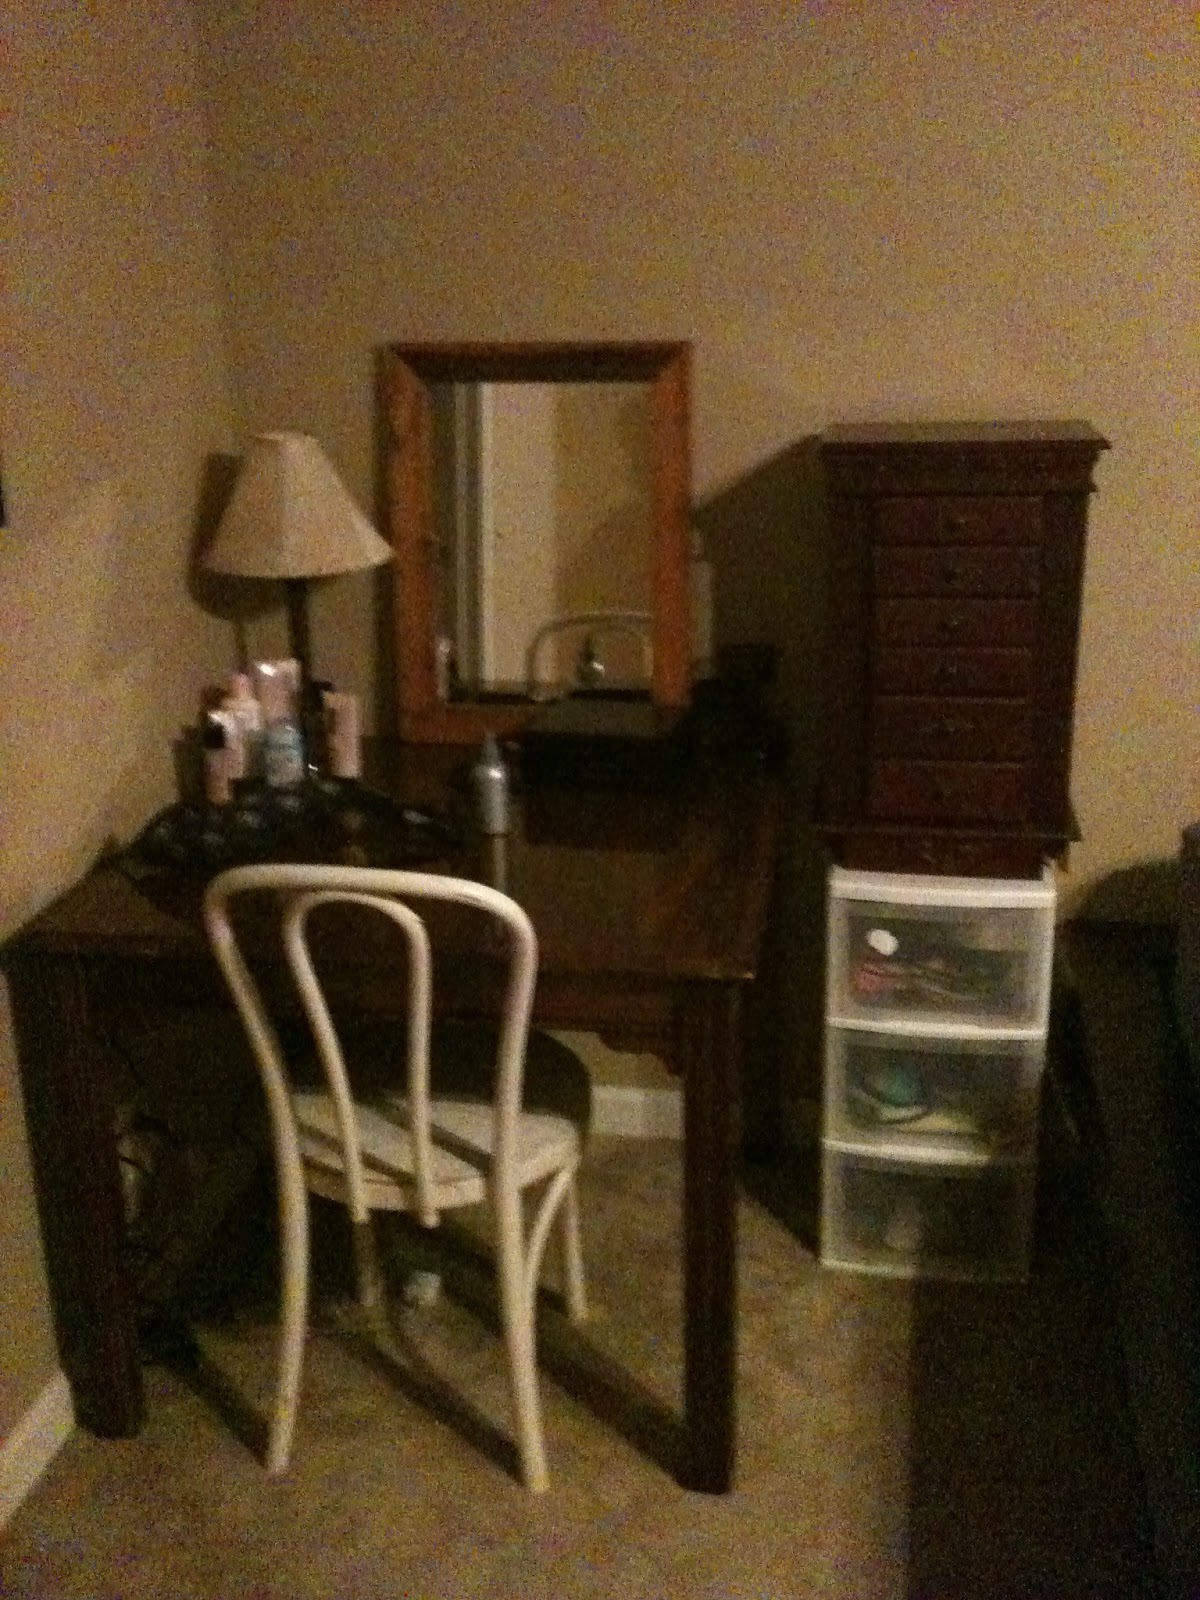
I've wanted a vanity for a few years now. But I have found that I either don't like what I can afford, or I can't afford what I like. Take the colors of that which I like, and I still don't like how small the vanity area is. So I've decided to make my own. MWR has this program where they sell their used items that they don't need any more. The one we have on Redstone Arsenal uses ebay for their selling capabilities. I found this beautiful 34" x 34" x 28" solid wood table from them for a budget-breaking $5. Here it is in my corner of the bedroom:
 |
Pay no heed to the white furniture,
they will meet their fate soon enough. |
Okay, so it's dark. My iPhone can only do so much since I have the 3G and no flash. I have big plans on making my 3 drawer ugly white and clear storage container a bit less of an eyesore in the near future. See that beautiful bentwood chair? My daddy picked that bad boy (and his three brothers) out of a dumpster when he moved to Bakersfield, California in the mid-80's. Thank God he's such a pack rat (and my step mom is such a purger... I snagged these guys from them when my husband and I got married six years ago and love them). Want a set? You can grab some new ones (with no dumpster smell) at
Crate and Barrel for $119 each. EACH! Saved me $480.
I intend to do some pretty lighting of some sort above the mirror. Need all the light I can get while I'm covering dark circles, and adding color other than death by "washable" markers. :) Anyhoo... check out what I am working on to add some glam and family fabulousness to the area:
It's just one set of 8x10 pictures, but that was my cutting my teeth on a new crafty idea. Here's a closeup:
I was reading up on the internet about how to make canvas portraits from prints that you have laying around. First, I found
this page which was really informative and had some great pictures. But as I read her blog, I noticed that she referenced
another page. I read both pages and kind of picked and chose what I thought I could do. I didn't want to worry about the pretty paper on the side... it was just another step that I could potentially mess up. So I painted around the canvas edges in a dark black to go with the black and white photos that I have. I didn't take step by step pictures of my making this because I was actually making these for my step mom. She was driving in town, and I was working against the clock. So I'll tell you what I did differently between these (the first set I made) and the ones she got (my second attempt).
First of all, I made two sets in one day. That should tell you how easy this project is. My pictures are matte, and my step mom's are glossy. Both worked well, so don't fret if you have one kind of photo finish and not the other. On my set, I did place the pictures face down on wax paper with the mod podge on it. After they were face down for about five minutes, I was re-reading the instructions and realized that it was supposed to dry for about a minute before I put them down. So up I pulled! And they got a texture on the front that wasn't what I wanted. It's not bad, it's just not what I wanted. Check it out:
 |
| See how it looks like it has popped bubbles on it? Yeah. |
On my step mom's, I didn't lay them face down, but I did do two coats of mod podge (letting them dry between coats). The first coat, I did horizontal strokes, and the second coat I did vertical. I think it made for a more "canvas-like" look.
 |
You can kind of see the brush strokes if you ignore the
popped bubbles. |
I didn't smudge black on the edges of these pictures, but I did for my mom's. I like hers, so I'll go back in a bit and smudge some black on the edges all the way around for that blurry look.
 |
| Easy assembly for the ribbon... just use a staple gun! |
I've been dying to use my staple gun ever since I bought it. In fact, I was doing a crafty thing the other day and actually stapled my craft to my dining room table. My husband laughed... he knows who he married. So when I got the chance to pull my shiny new staple gun out so I could properly attach the ribbon to the pictures I did the happy dance. This was so quick and easy, I looked around the house for something else to staple. My husband quickly grabbed it from me and saved all of our furniture for a poorly planned fate.
So there it is! Like I said... my corner isn't complete yet, but it's getting there. And now I have a place to put my "face paint" so it doesn't clutter up the bathroom sink.


Yep, she is now restricted from the staple gun!
ReplyDelete